Table of Contents
The Product Manager section in Lutrack Inventory is designed to help you efficiently manage various aspects of your products. It provides a comprehensive interface to handle product categories, brands, variations, and individual products.
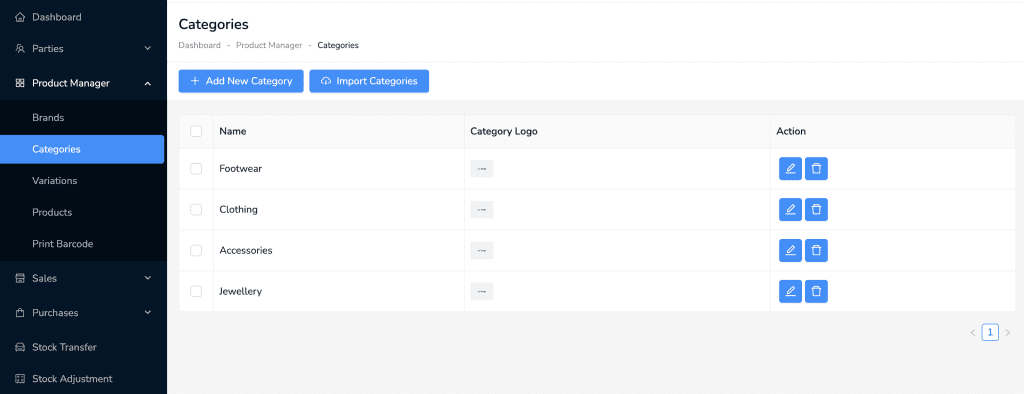
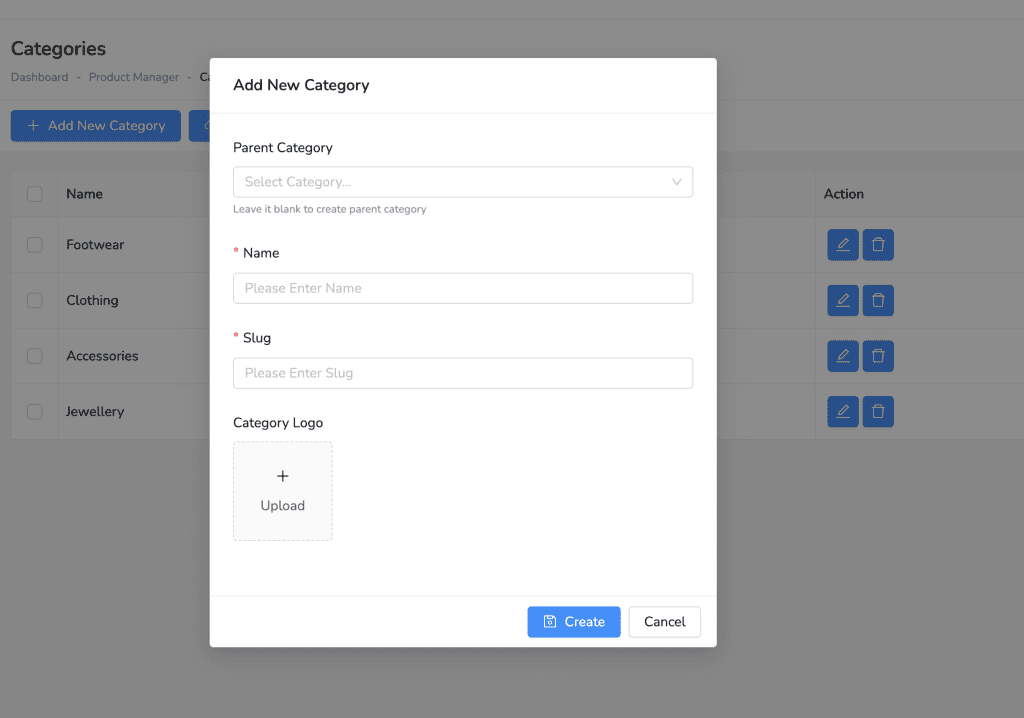
Adding a New Category #
- Navigate to the Product Manager section.
- Click on Categories
- Click the + Add New Category button.
- Select a Parent category if applicable.
- Enter a descriptive Name for your category (e.g., “Clothing”, “Electronics”).
- Enter a Slug for the category.
- Upload a category Logo.
- Click Create to save the new category.
Importing a Category #
- Navigate to Product Manager from the left sidebar.
- Click on Categories.
- Click on the blue Import Categories button.
- Follow the instructions provided to upload a file with the category data.
- Confirm and complete the import process as directed by the on-screen prompts.
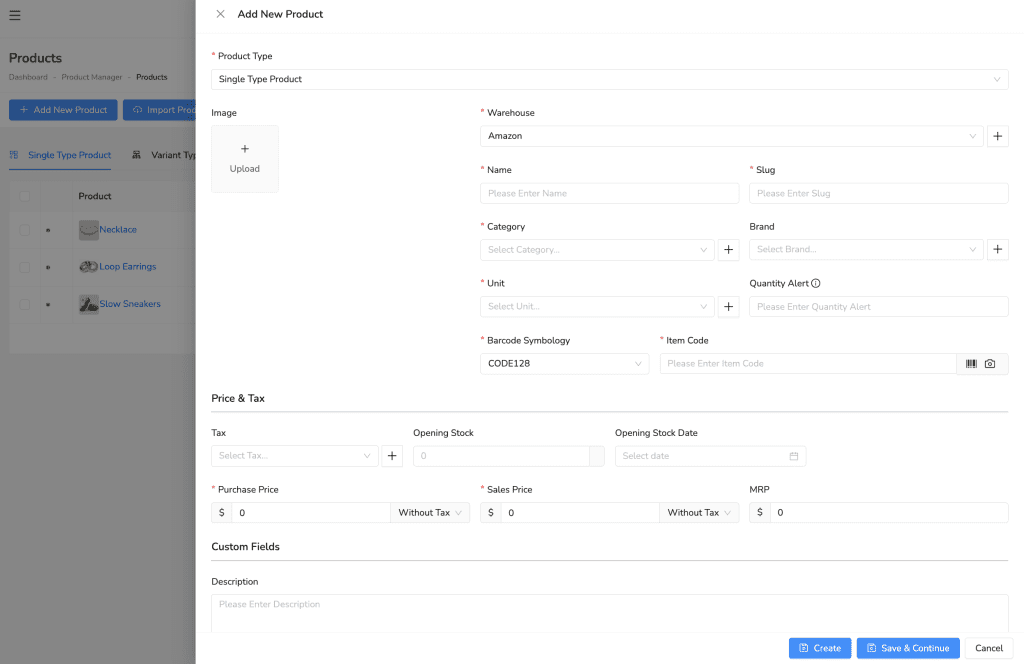
Adding a New Product #
- Navigate to Product Manager.
- Click on Products.
- Click on the Add New Product button.
- Fill in the product details:
- Product Type: Select the type of product (e.g., Single Type Product).
- Image: Upload an image of the product if desired.
- Warehouse: Select the warehouse where the product is stored.
- Name: Enter the name of the product.
- Slug: Enter a slug for the product.
- Category: Select the appropriate category for the product.
- Brand: Select the brand of the product if applicable.
- Unit: Choose the unit of measurement for the product.
- Quantity Alert: Set a quantity alert to notify when stock is low.
- Barcode Symbology: Select the type of barcode (e.g., CODE128).
- Item Code: Enter the item code for the product. Click on the barcode icon to generate a barcode.
- Enter price and tax details:
- Tax: Select the applicable tax for the product.
- Opening Stock: Enter the initial stock quantity.
- Opening Stock Date: Select the date when the opening stock is recorded.
- Purchase Price: Enter the purchase price of the product.
- Sales Price: Enter the sales price of the product.
- MRP: Enter the maximum retail price of the product if applicable.
- Description: Enter a description for the product.
- Click on Create to save the product or Save & Continue to add more details or additional products.
Importing Products #
Importing your products from a spreadsheet is very simple and quick.
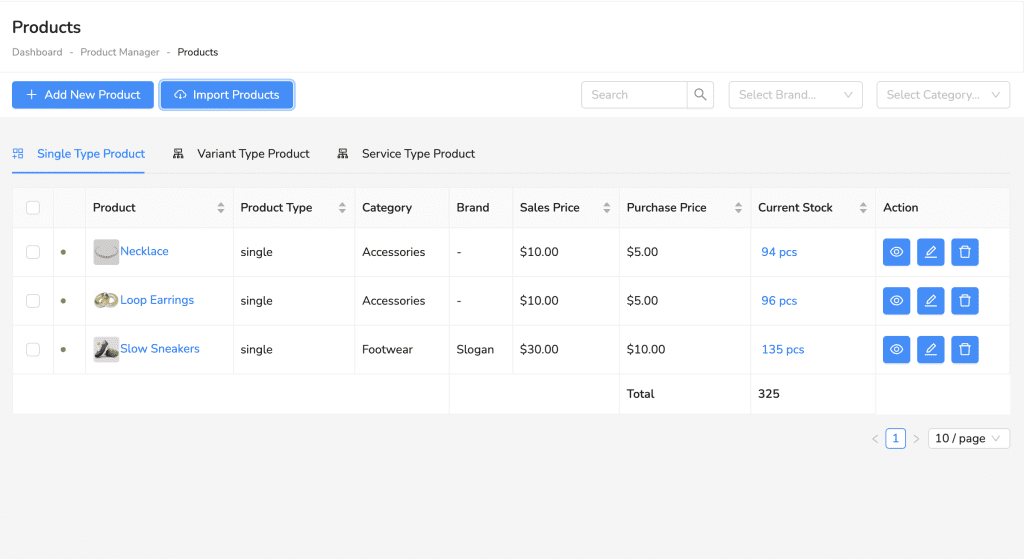
- Navigate to the Products section.
- Click on the Import Products button.
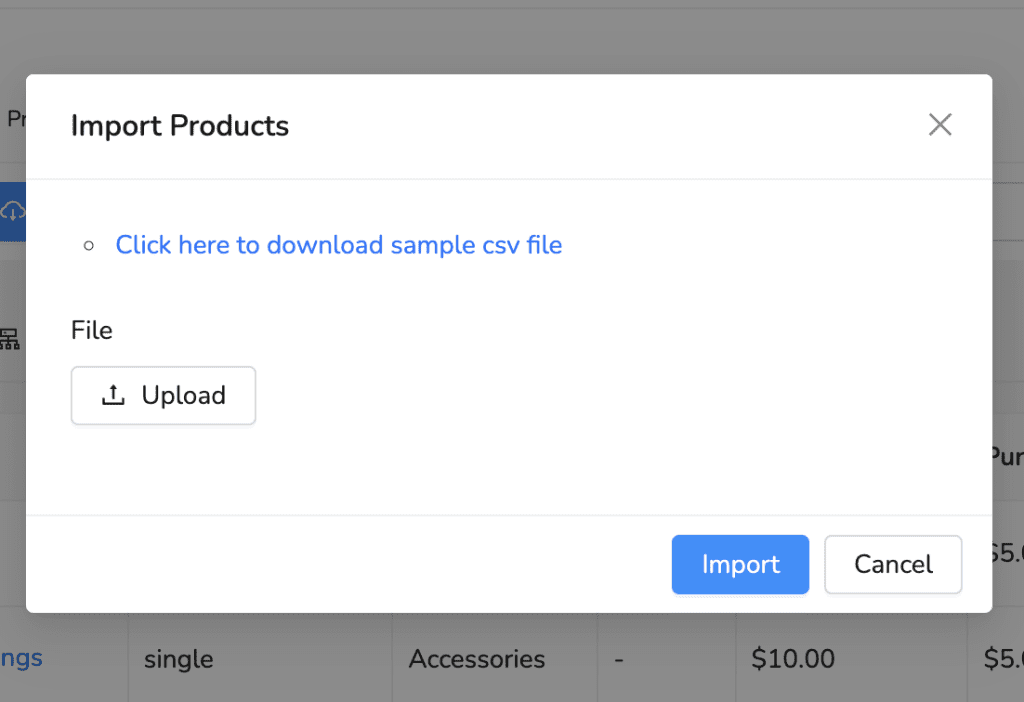
- Click on the link labeled “Click here to download sample csv file” to download a template file. The downloaded file will be a CSV file that contains columns with headers specifying the required data format for importing products.
- Fill out the spreadsheet with your product data, ensuring you match the data to the corresponding headers in the template file.
- To upload completed spreadsheet, click the “Upload” button and select your file.
- Click “Import” to upload the file.
Adding Variations #
- Navigate to the Products Manager section.
- Click on Variations.
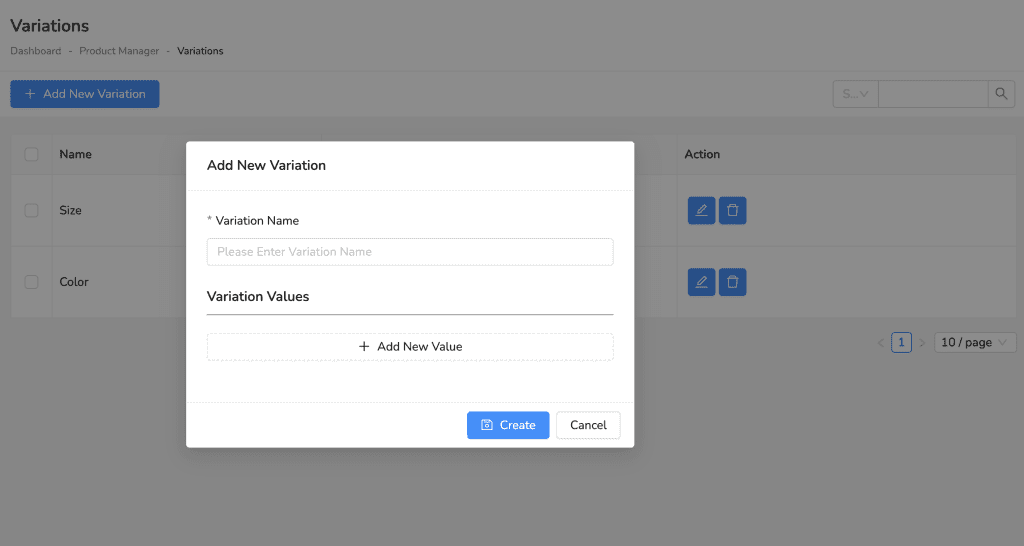
- Click the Add Variation button.
- Enter a descriptive Variation Name for this specific variation (e.g., “Color”, “Size”).
- Click the + Add New Value Button and enter your variations (e.g., “Blue”, “Large”).
- Click the Create button to create the new variation.
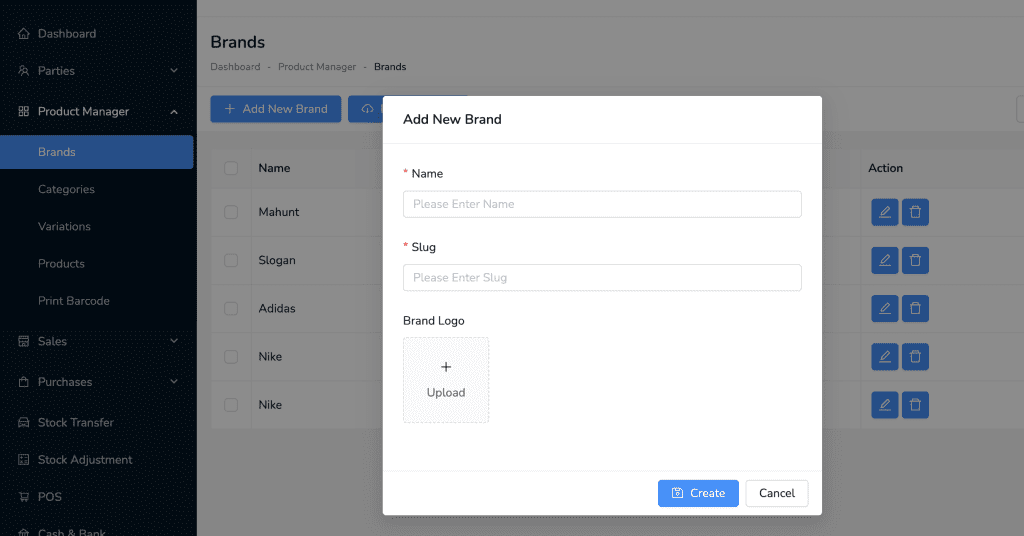
Adding Brands #
- Navigate to the Product Manager section.
- Click on Brands.
- Click the + Add New Brand button.
- In the “Name” field, enter the name of the brand you want to add (e.g., Nike, Adidas).
- Enter a Slug for the brand.
- Upload a Brand Logo (optional).
- Click “Save” to create the new brand.
